So, you want to make a wedding website! You want one spot to share photographs, wedding hashtags, dates and important information because you know that it will make the wedding planning ordeal much, much easier. You are smart.
Wedding websites are a fairly new trend that will not be going out of style any time soon. These sites are fully customizable, functional and serve a purpose not only for you, but for your guests as well! A wedding website should serve as a hub for all of the information on the event and the place to go for updates. Here are the 7 steps to getting started on your wedding website today!
- Choose Your Platform – Picking a website platform is the biggest decision you’ll make in the creation of your wedding website, so choose carefully! In truth, all of the options are great ones for websites, all with different features and options. If you want your website to be more visually stimulating, go with Wix or Squarespace. If you want your website to be more functional than visual, go with WordPress or Blogger! TheKnot.com also offers wedding website services complete with an online registry! Pro Tip: Any of these platforms will do what you need them to, the only difference is the layout.
- Decide on Your Price Range – Do you want a free site or are you willing to pay a small fee for some bonus features? Do you want to connect a custom domain or are you okay with the MyWedding.BlogSite.Com format? Will you need an e-commerce page where you can sell tickets or memorabilia? Will you need storage for photos and videos to upload and share after the event? If you answered yes to any of these questions, you can check out pricing and options here!
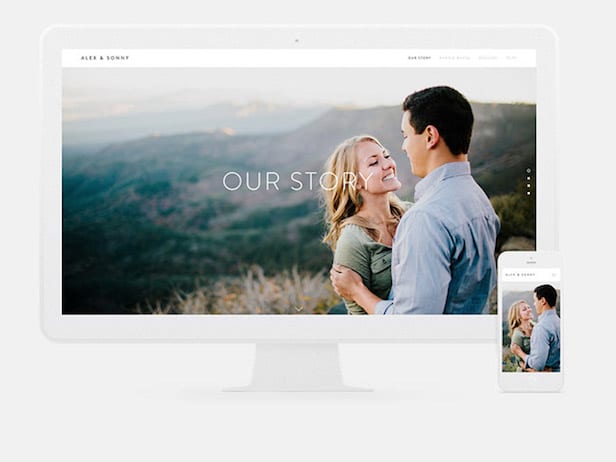
- Select Your Look – Regardless of the platform you chose, (which did you choose?!) all of the options offer you a wedding website template. Check out Squarespace’s templates here, Wix’s here, and WordPress’ here! Choose one that matches the theme and feel of your wedding and one that allows you to share your photos and messages in the way you want to convey them!
- Create a Custom Landing Page – You have your platform, you have your price set and you’ve selected the theme you want, now you must customize it! Using engagement photos or even a clip from an engagement video, adorn the landing page with you! Upload your favorite pictures, enter in a sweet quote or two and make a landing page that no one will want to click off of.
- Connect Your Registry – Now comes the fun part, your online registry! If you created your website with TheKnot, all of your registry questions can be answered here. You can also use MyRegistry.com for a quick and easy way to embed your registry to your site, they give you all of the information you’ll need to embed it and a step by step guide! Happy gifting!
- Make Sure All Necessary Information is represented – The most crucial step of all; making sure everything you need to say is covered! Is the date on the landing page? Did you provide your guests a way to RSVP? Is the location listed somewhere? What about the dress code? Indoor or outdoor wedding? Will there be an open bar? Cover all the bases by double checking the information you list on your site and you won’t have to field questions in the months to come, all of the information is on your site!
- Share, Share, Share! – Finally, spread the word. Share your shiny new site with your guests, friends and family. Show them just how tech-savvy and prepared you are! (Even if you’re not!) Your guests will love your site and love you for making it all so simple for them.

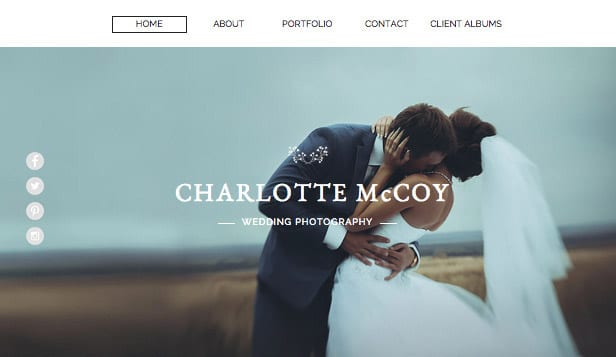
Image Credits In Order of Appearance: GreenWeddingShoes | WordPress | Wix